【Swift】【XCode】動的なViewの生成方法

目次

動的なViewの生成

画面のレイアウトを見ながら決めることのできる、InterfaceBuilderはとても便利ですが、シンプルな画面を作る場合、いちいちstoryboardでViewControllerを作って、Segueでつなげてが面倒くさい場合があります。

基本的に、Viewの作成&表示はstorboardがなくても、行うことができあます。

手順

1. ViewControllerを継承したクラスを作成する

NewFile->Cocoa Touch Class->Subclass of 「UIViewController」の順でファイルを作成していきます。
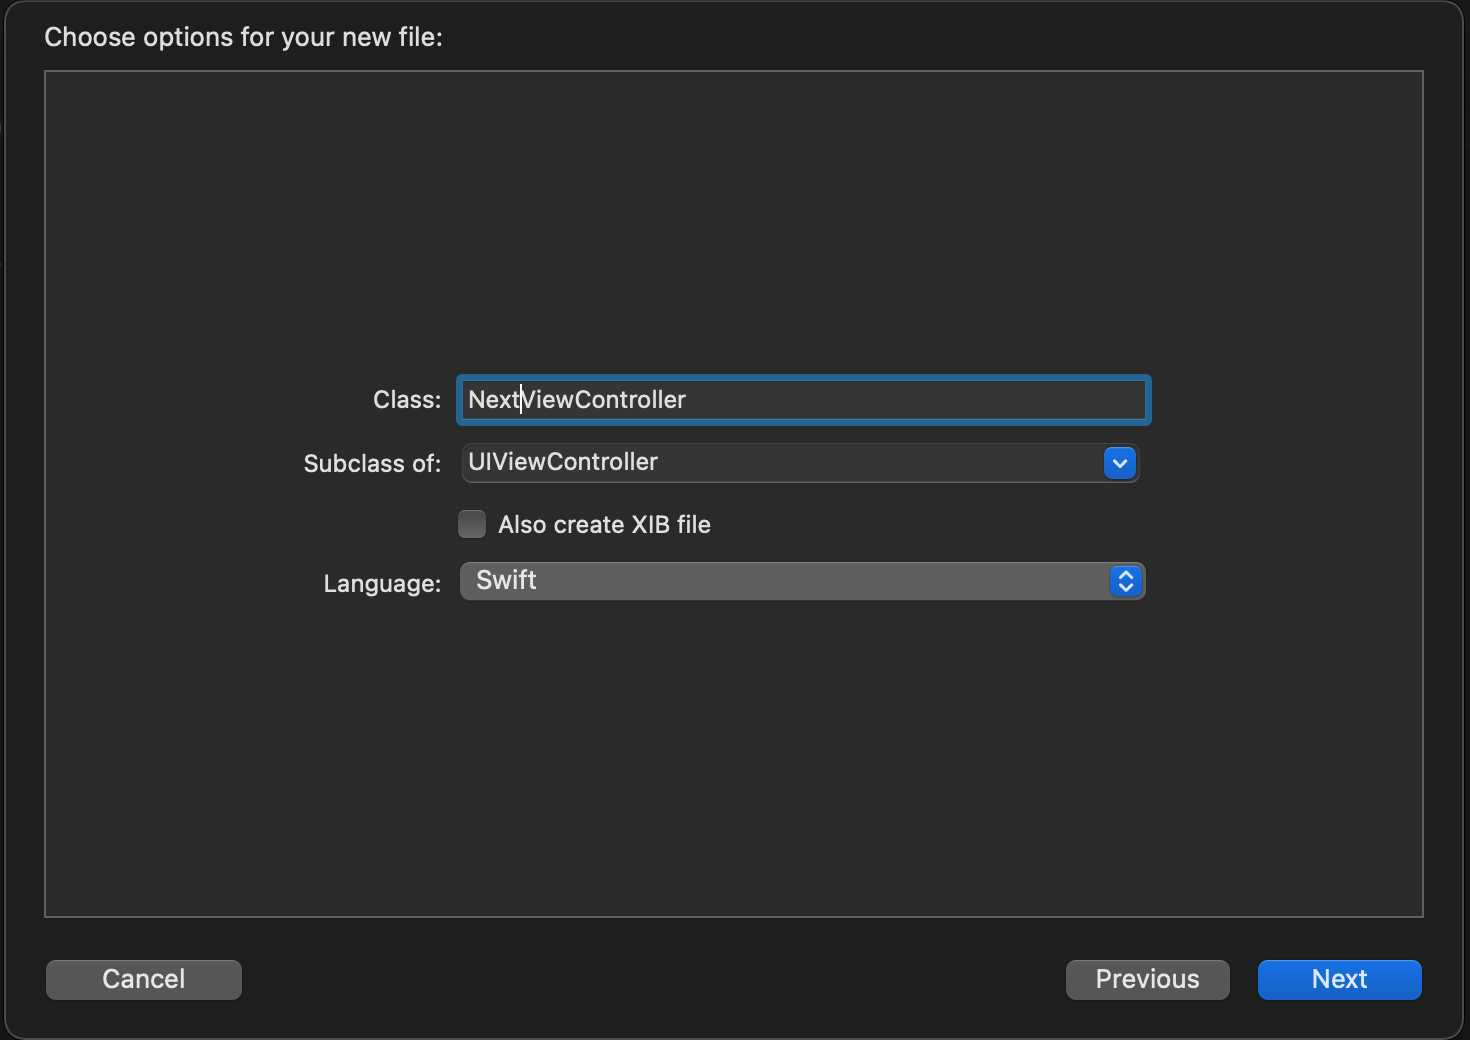
CreateView

2. 1.で作成したViewControllerでパーツを生成して、コードで配置していく

今回は、画面の中心にUILabelを配置したいと思います。

1
2
3
4
5
6
7
8
9
10
11
12
13
14
15
16
17
18
19
20
21
import UIKit

class NextViewController: UIViewController {

override func viewDidLoad() {
super.viewDidLoad()

// Viewの背景色を設定しないと、透明な背景になる
view.backgroundColor = .white

let label = UILabel(frame: CGRect(x: 0, y: view.frame.height / 3, width: view.frame.width, height: 100))
label.backgroundColor = .red
label.text = "自動生成されたViewです"
label.font = .boldSystemFont(ofSize: 20)
label.textColor = .white

// 生成したUILabelをviewの下につける
view.addSubview(label)
}

}

view.addSubview(UIView)

指定したViewに対して、UIViewクラスを継承しているクラスを配置します。

親のViewのことをSuperViewと呼びます。

もともと、別のSuperViewをすでに持っていた場合は、前のSuperViewとのつながりは消去されます。(親は1つしか設定できない)

3. 1.で作成した画面の前の画面から、Viewを作成して表示する

ボタンを押されたときに、動的にViewを生成して表示する方法です。

1
2
3
4
5
6
7
8
9
10
11
@IBAction func clickActiveCreate(_ sender: Any) {
// Viewのインスタンス化
let nextVC = NextViewController()

// 遷移アニメーションのスタイルを設定
nextVC.modalTransitionStyle = .coverVertical
// 遷移後の画面の表示の仕方を設定
nextVC.modalPresentationStyle = .fullScreen
// 新しいViewの表示
present(nextVC, animated: true, completion: nil)
}
Author

Daiki Iijima

Posted on

2021-08-18

Updated on

2024-04-17

Licensed under